Creating a custom theme
Step 1. Find a place to place the themes#
Organization is an important aspect of managing a knowledge base. When developing a new theme or importing an existing one it's a good idea to keep them into one place.
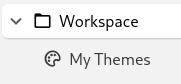
As such, the first step is to create a new note to gather all the themes.
Step 2. Create the theme#
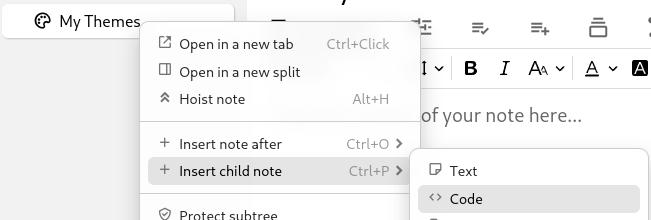 |
Themes are code notes with a special attribute. Start by creating a new code note. |
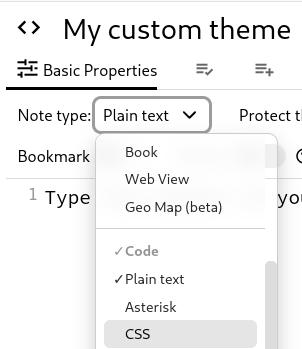 |
Then change the note type to a CSS code. |
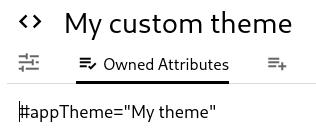 |
In the Owned Attributes section define the #appTheme attribute to point to any desired name. This is the name that will show up in the appearance section in settings. |
Step 3. Define the theme's CSS#
As a very simple example we will change the background color of the launcher pane to a shade of blue.
To alter the different variables of the theme:
:root {
	--launcher-pane-background-color: #0d6efd;
}
Step 4. Activating the theme#
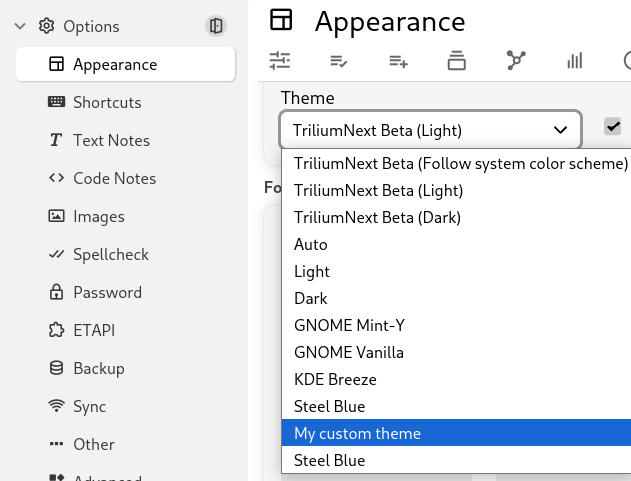
Refresh the application (Ctrl+Shift+R is a good way to do so) and go to settings. You should see the newly created theme:
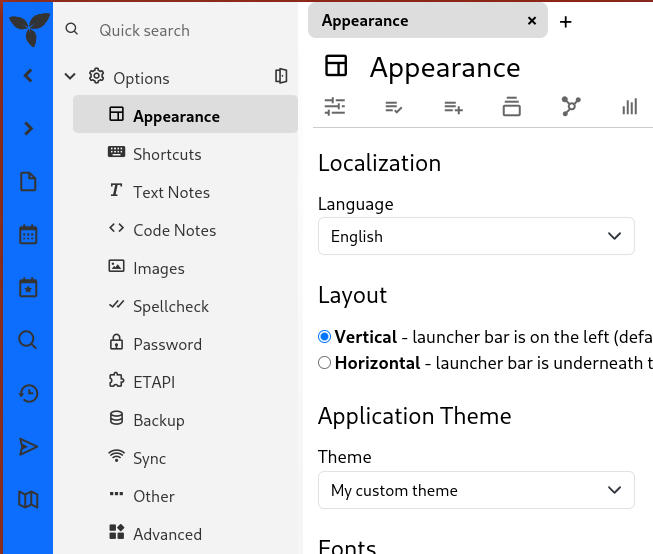
Afterwards the application will refresh itself with the new theme:
Do note that the theme will be based off of the legacy theme. To override that and base the theme on the new TriliumNext theme, see: Theme base (legacy vs. next)
Step 5. Making changes#
Simply go back to the note and change according to needs. To apply the changes to the current window, press Ctrl+Shift+R to refresh.
It's a good idea to keep two windows, one for editing and the other one for previewing the changes.