Geo Map
This note type displays the children notes on a geographical map, based on an attribute. It is also possible to add new notes at a specific location using the built-in interface.
Creating a new geo map#
Right click on an existing note in the Note Tree and select Geo Map.
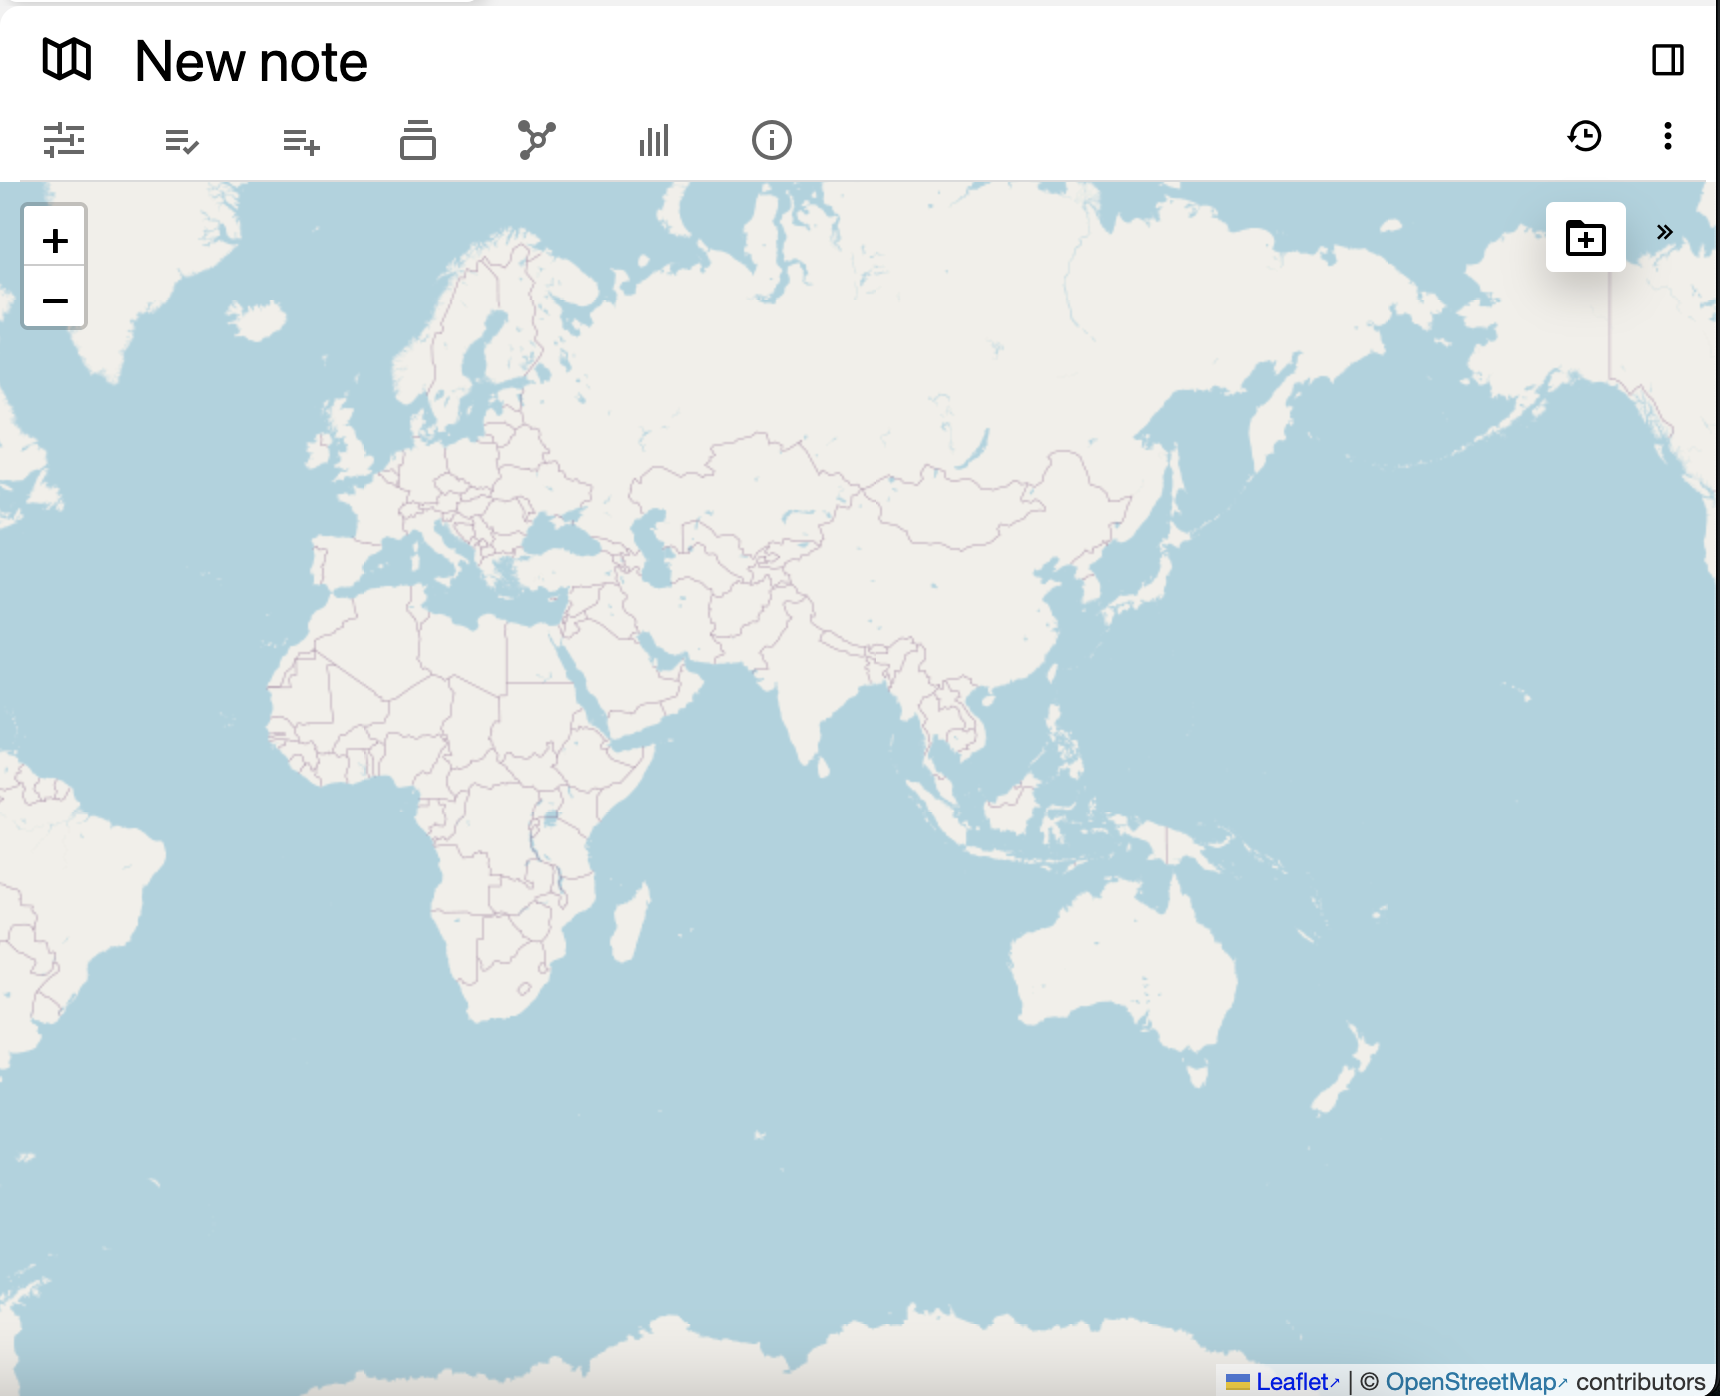
By default the map will be empty and will show the entire world.
Repositioning the map#
- Click and drag the map in order to move across the map.
- Use the mouse wheel, two-finger gesture on a touchpad or the +/- buttons on the top-left to adjust the zoom.
The position on the map and the zoom are saved inside the map note and restored when visiting again the note.
Adding a marker using the map#
Adding a new note using the plus button#
| 1 | To create a marker, first navigate to the desired point on the map. Then press the 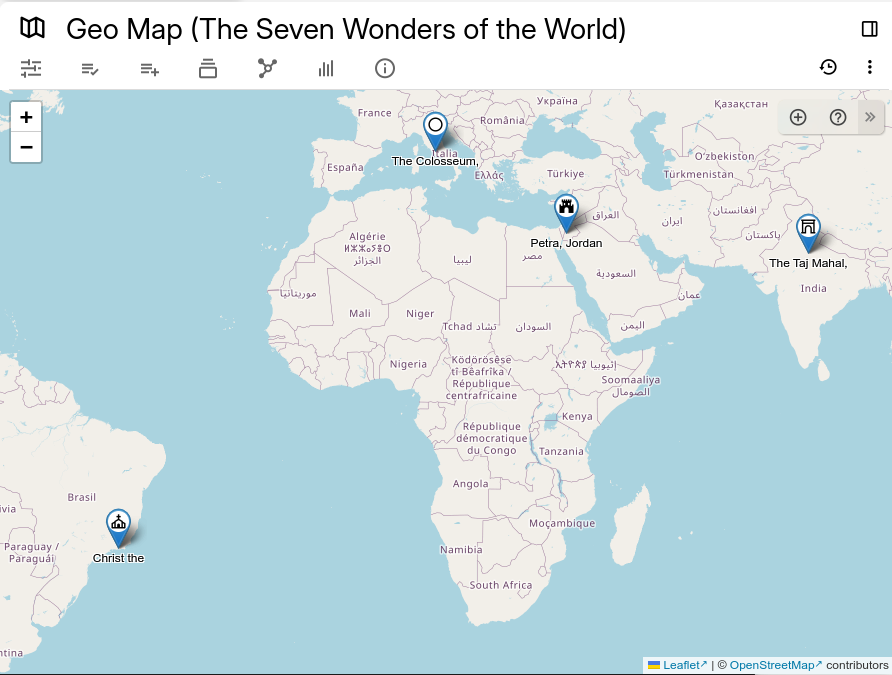 button in the Floating buttons (top-right) area. button in the Floating buttons (top-right) area. If the button is not visible, make sure the button section is visible by pressing the chevron button ( 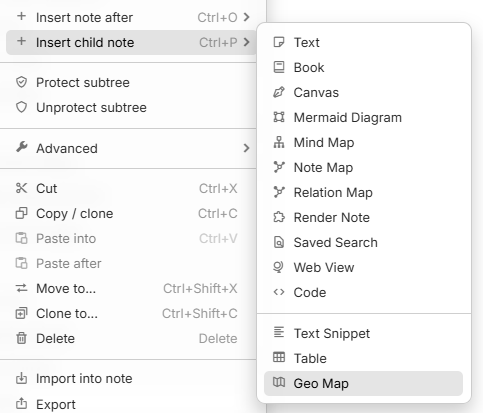 ) in the top-right of the map. ) in the top-right of the map. |
|
| 2 |  |
Once pressed, the map will enter in the insert mode, as illustrated by the notification. Simply click the point on the map where to place the marker, or the Escape key to cancel. |
| 3 | 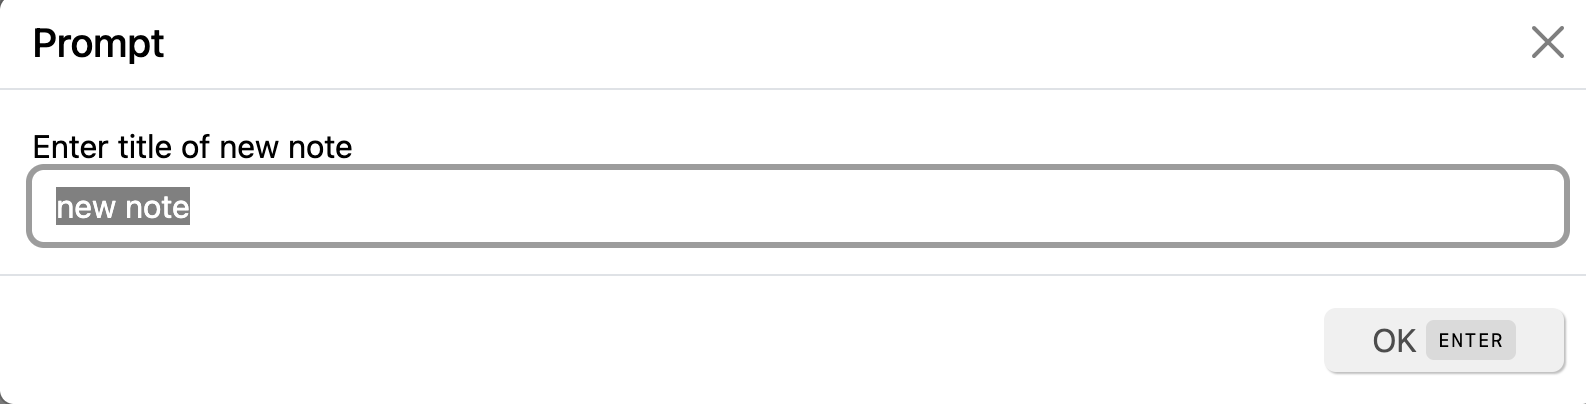 |
Enter the name of the marker/note to be created. |
| 4 |  |
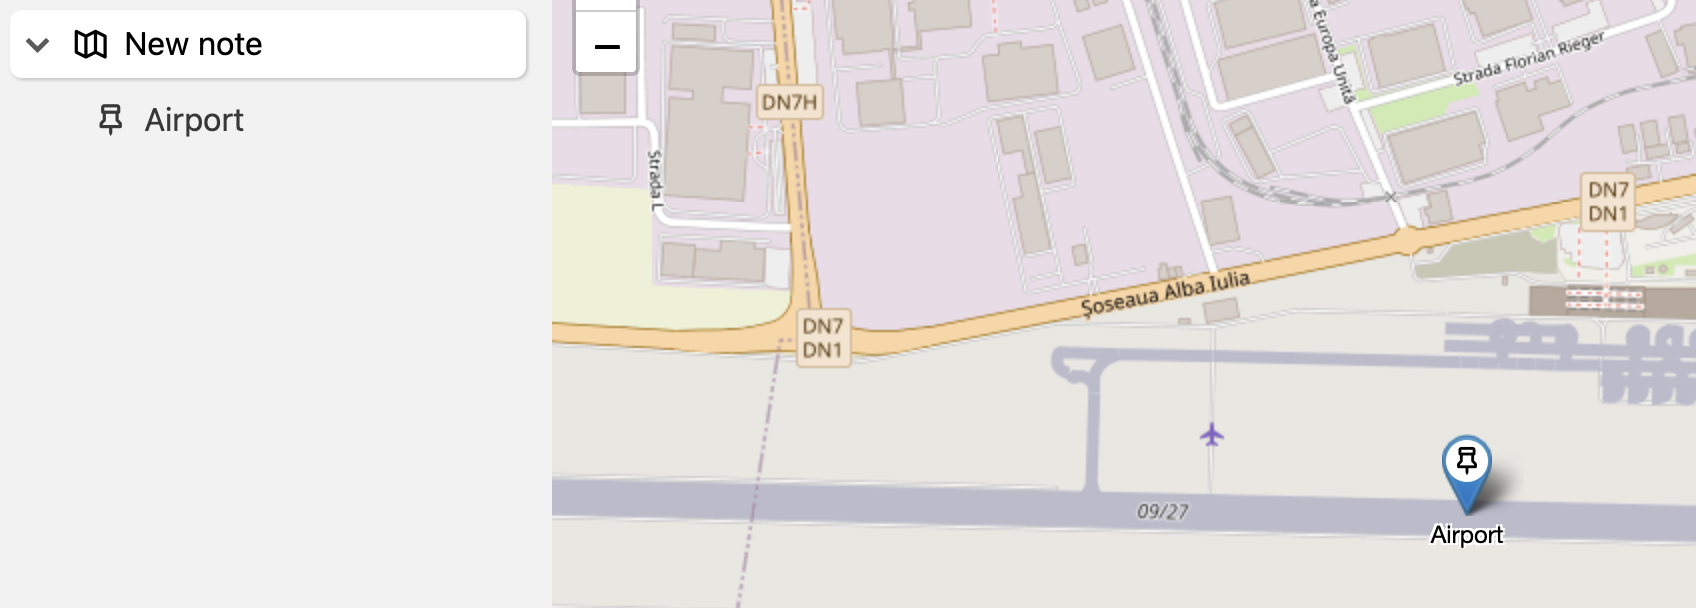
Once confirmed, the marker will show up on the map and it will also be displayed as a child note of the map. |
Adding a new note using the contextual menu#
- Right click anywhere on the map, where to place the newly created marker (and corresponding note).
- Select Add a marker at this location.
- Enter the name of the neNote Treewly created note.
- The map should be updated with the new marker.
Adding an existing note on note from the note tree#
- Select the desired note in the Note Tree.
- Hold the mouse on the note and drag it to the map to the desired location.
- The map should be updated with the new marker.
This works for:
- Notes that are not part of the geo map, case in which a clone will be created.
- Notes that are a child of the geo map but not yet positioned on the map.
- Notes that are a child of the geo map and also positioned, case in which the marker will be relocated to the new position.
How the location of the markers is stored#
The location of a marker is stored in the #geolocation attribute of the child notes:
This value can be added manually if needed. The value of the attribute is made up of the latitude and longitude separated by a comma.
Repositioning markers#
It's possible to reposition existing markers by simply drag and dropping them to the new destination.
As soon as the mouse is released, the new position is saved.
If moved by mistake, there is currently no way to undo the change. If the mouse was not yet released, it's possible to force a refresh of the page (Ctrl+R ) to cancel it.
Interaction with the markers#
- Hovering over a marker will display a Note Tooltip with the content of the note it belongs to.
- Clicking on the note title in the tooltip will navigate to the note in the current view.
- Middle-clicking the marker will open the note in a new tab.
- Right-clicking the marker will open a contextual menu (as described below).
- If the map is in read-only mode, clicking on a marker will open a Quick edit popup for the corresponding note.
Contextual menu#
It's possible to press the right mouse button to display a contextual menu.
- If right-clicking an empty section of the map (not on a marker), it allows to:
- Displays the latitude and longitude. Clicking this option will copy them to the clipboard.
- Open the location using an external application (if the operating system supports it).
- Adding a new marker at that location.
- If right-clicking on a marker, it allows to:
- Displays the latitude and longitude. Clicking this option will copy them to the clipboard.
- Open the location using an external application (if the operating system supports it).
- Open the note in a new tab, split or window.
- Remove the marker from the map, which will remove the
#geolocationattribute of the note. To add it back again, the coordinates have to be manually added back in.
Icon and color of the markers#

The markers will have the same icon as the note.
It's possible to add a custom color to a marker by assigning them a #color attribute such as #color=green.
Adding the coordinates manually#
In a nutshell, create a child note and set the #geolocation attribute to the coordinates.
The value of the attribute is made up of the latitude and longitude separated by a comma.
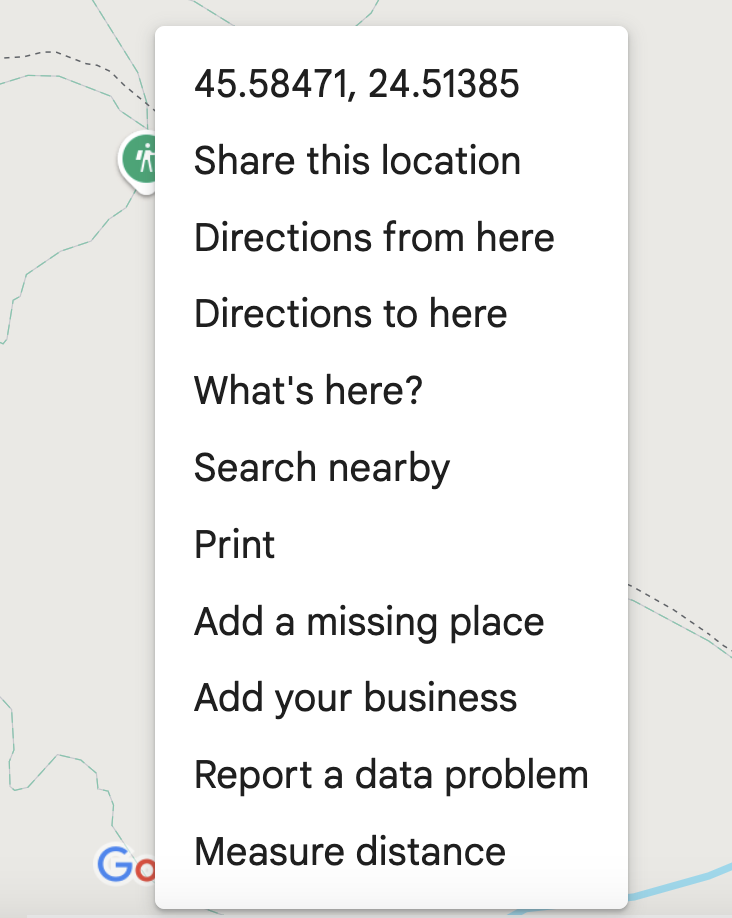
Adding from Google Maps#
| 1 | 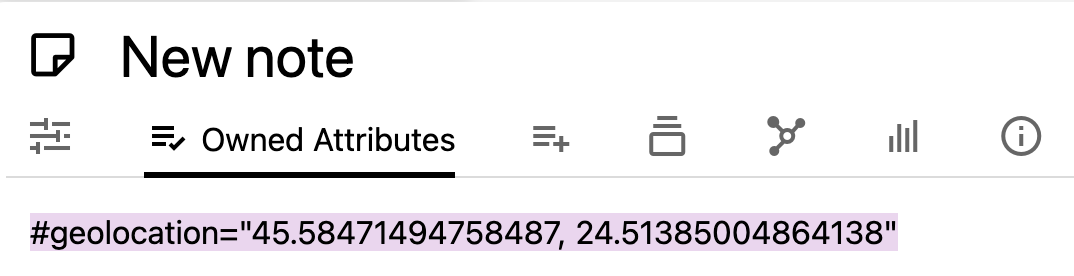 |
Go to Google Maps on the web and look for a desired location, right click on it and a context menu will show up. Simply click on the first item displaying the coordinates and they will be copied to clipboard. Then paste the value inside the text box into the #geolocation attribute of a child note of the map (don't forget to surround the value with a " character). |
| 2 |  |
In Trilium, create a child note under the map. |
| 3 |  |
And then go to Owned Attributes and type #geolocation=", then paste from the clipboard as-is and then add the ending " character. Press Enter to confirm and the map should now be updated to contain the new note. |
Adding from OpenStreetMap#
Similarly to the Google Maps approach:
| 1 | 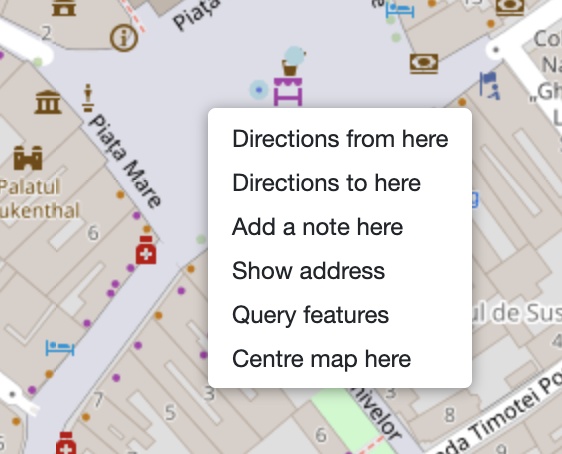 |
Go to any location on openstreetmap.org and right click to bring up the context menu. Select the “Show address” item. |
| 2 | 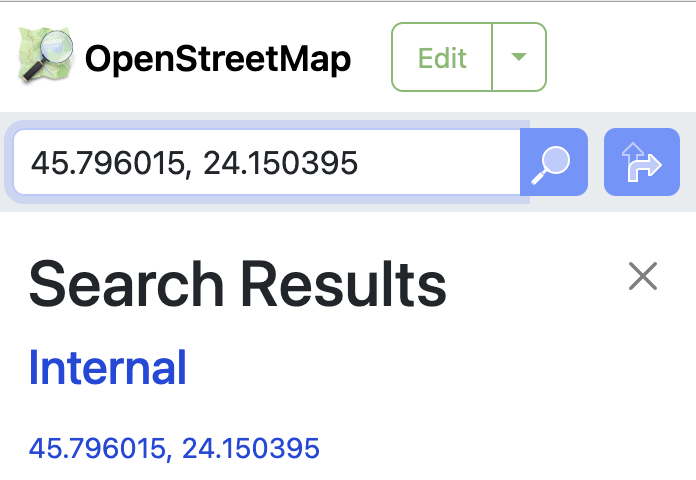 |
The address will be visible in the top-left of the screen, in the place of the search bar. Select the coordinates and copy them into the clipboard. |
| 3 | 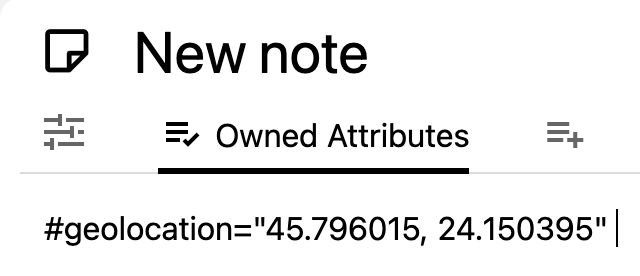 |
Simply paste the value inside the text box into the #geolocation attribute of a child note of the map and then it should be displayed on the map. |
Adding GPS tracks (.gpx)#
Trilium has basic support for displaying GPS tracks on the geo map.
| 1 | 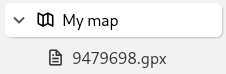 |
To add a track, simply drag & drop a .gpx file inside the geo map in the note tree. |
| 2 | 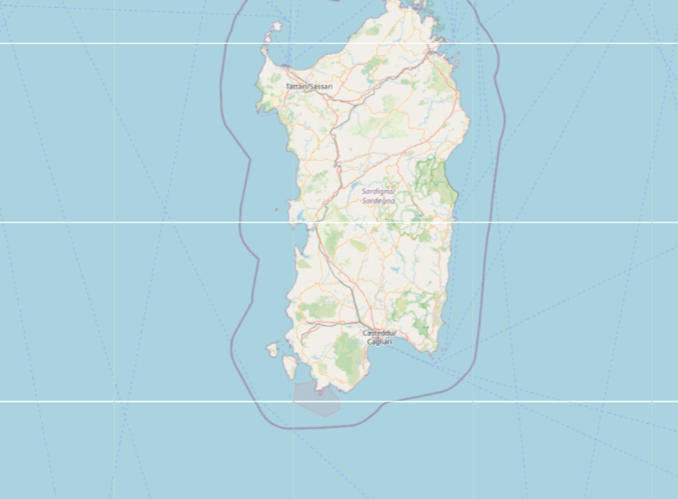 |
In order for the file to be recognized as a GPS track, it needs to show up as application/gpx+xml in the File type field. |
| 3 | 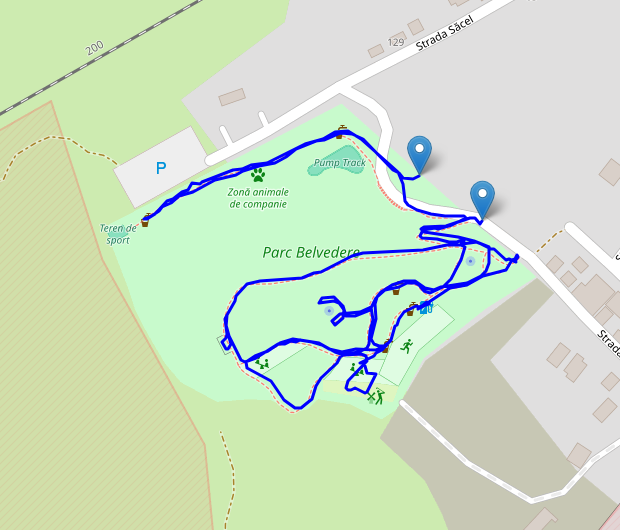 |
When going back to the map, the track should now be visible. The start and end points of the track are indicated by the two blue markers. |
Read-only mode#
When a map is in read-only all editing features will be disabled such as:
- The add button in the Floating buttons.
- Dragging markers.
- Editing from the contextual menu (removing locations or adding new items).
To enable read-only mode simply press the Lock icon from the Floating buttons. To disable it, press the button again.
Configuration#
Map Style#
The styling of the map can be adjusted in the Collection Properties or manually via the #map:style attribute.
The geo map comes with two different types of styles:
- Raster styles
- For these styles the map is represented as a grid of images at different zoom levels. This is the traditional way OpenStreetMap used to work.
- Zoom is slightly restricted.
- Currently, the only raster theme is the original OpenStreetMap style.
- Vector styles
- Vector styles are not represented as images, but as geometrical shapes. This makes the rendering much smoother, especially when zooming and looking at the building edges, for example.
- The map can be zoomed in much further.
- These come both in a light and a dark version.
- The vector styles come from VersaTiles, a free and open-source project providing map tiles based on OpenStreetMap.
Custom map style / tiles#
Starting with v0.102.0 it is possible to use custom tile sets, but only in raster format.
To do so, manually set the #map:style label to the URL of the tile set. For example, to use Esri.NatGeoWorldMap, set the value to https://server.arcgisonline.com/ArcGIS/rest/services/NatGeo_World_Map/MapServer/tile/{z}/{y}/{x}.
Custom vector map support is planned, but not yet implemented.
Other options#
The following options can be configured either via the Collection Properties, by clicking on the settings (Gear icon). Alternatively, each of these options also have a corresponding label that can be set manually.
- Scale, which illustrates the scale of the map in kilometers and miles in the bottom-left of the map.
- The name of the markers is displayed by default underneath the pin on the map. Since v0.102.0, it is possible to hide these labels which increases the performance and decreases clutter when there are many markers on the map.
Troubleshooting#
Grid-like artifacts on the map#
This occurs if the application is not at 100% zoom which causes the pixels of the map to not render correctly due to fractional scaling. The only possible solution is to set the UI zoom at 100% (default keyboard shortcut is Ctrl+0).